Finished quilt: Bubbles

Quilt details
Name of quilt and Recipient:
- "Bubbles", or to be more precise: "Bubolor", which is how my kids say the word bubblor.
- for Emma Vikström
Size and Timeline
- 154 x 153 cm (length x height).
- timeline
- quilt top started on June 28th and was done on June 29th.
- quilt was basted on June 30th.
- machine-quilted with walking foot quilting on August 4th.
- bound by machine on
- Quilt finidhed (thread ends sewn in) on Aug 13th.
- label appliqued on the quilt top already June 28th and embroidered details were added on August 13th-14th.
Pattern and Fabrics used:
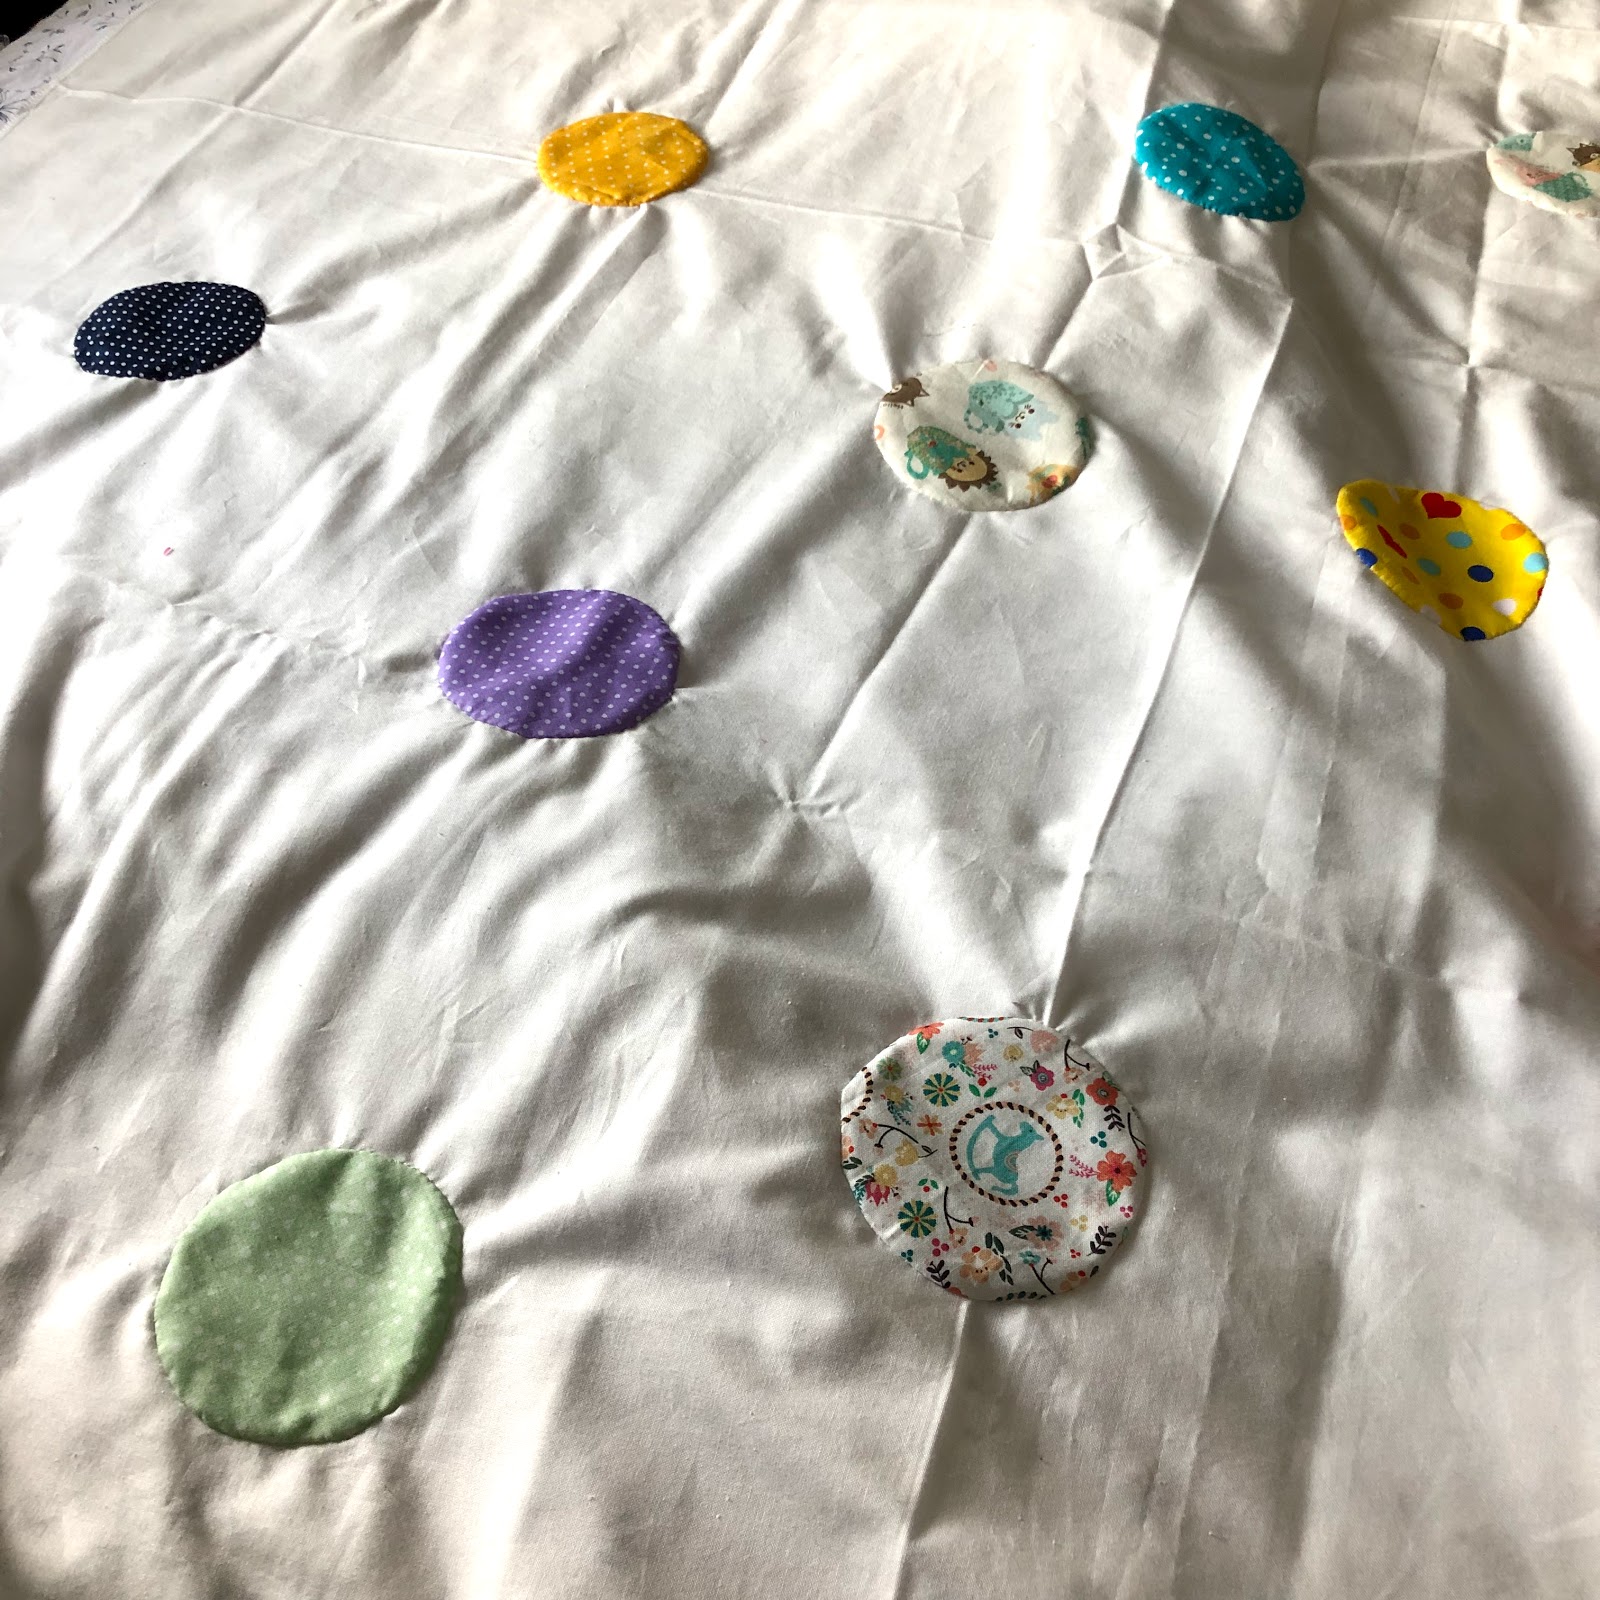
- No pattern, just an idea of cut out fabric circles my daughter could glue to to a background fabric. Which I would then sew down and add borders to.
- About the fabrics used for the quilt top
- Background is a natural white fabric that was the largest of those I could find in my stash. I think I got it as a donation from Frida.
- Every single piece of fabric to make the quilt top came from my stash, and I had my little 4 year old daughter help me by gluing the circles on the background. We made one circle out of every polka dot fabric I happened to have in my stash, and 8 circles from two cute fabrics I got as donations from Johanna in June. Most of the polka dots were fabrics donated from her as well.
Batting, backing and binding fabric:
- Batting used was a regular 100 g polyester from Eurokangas.
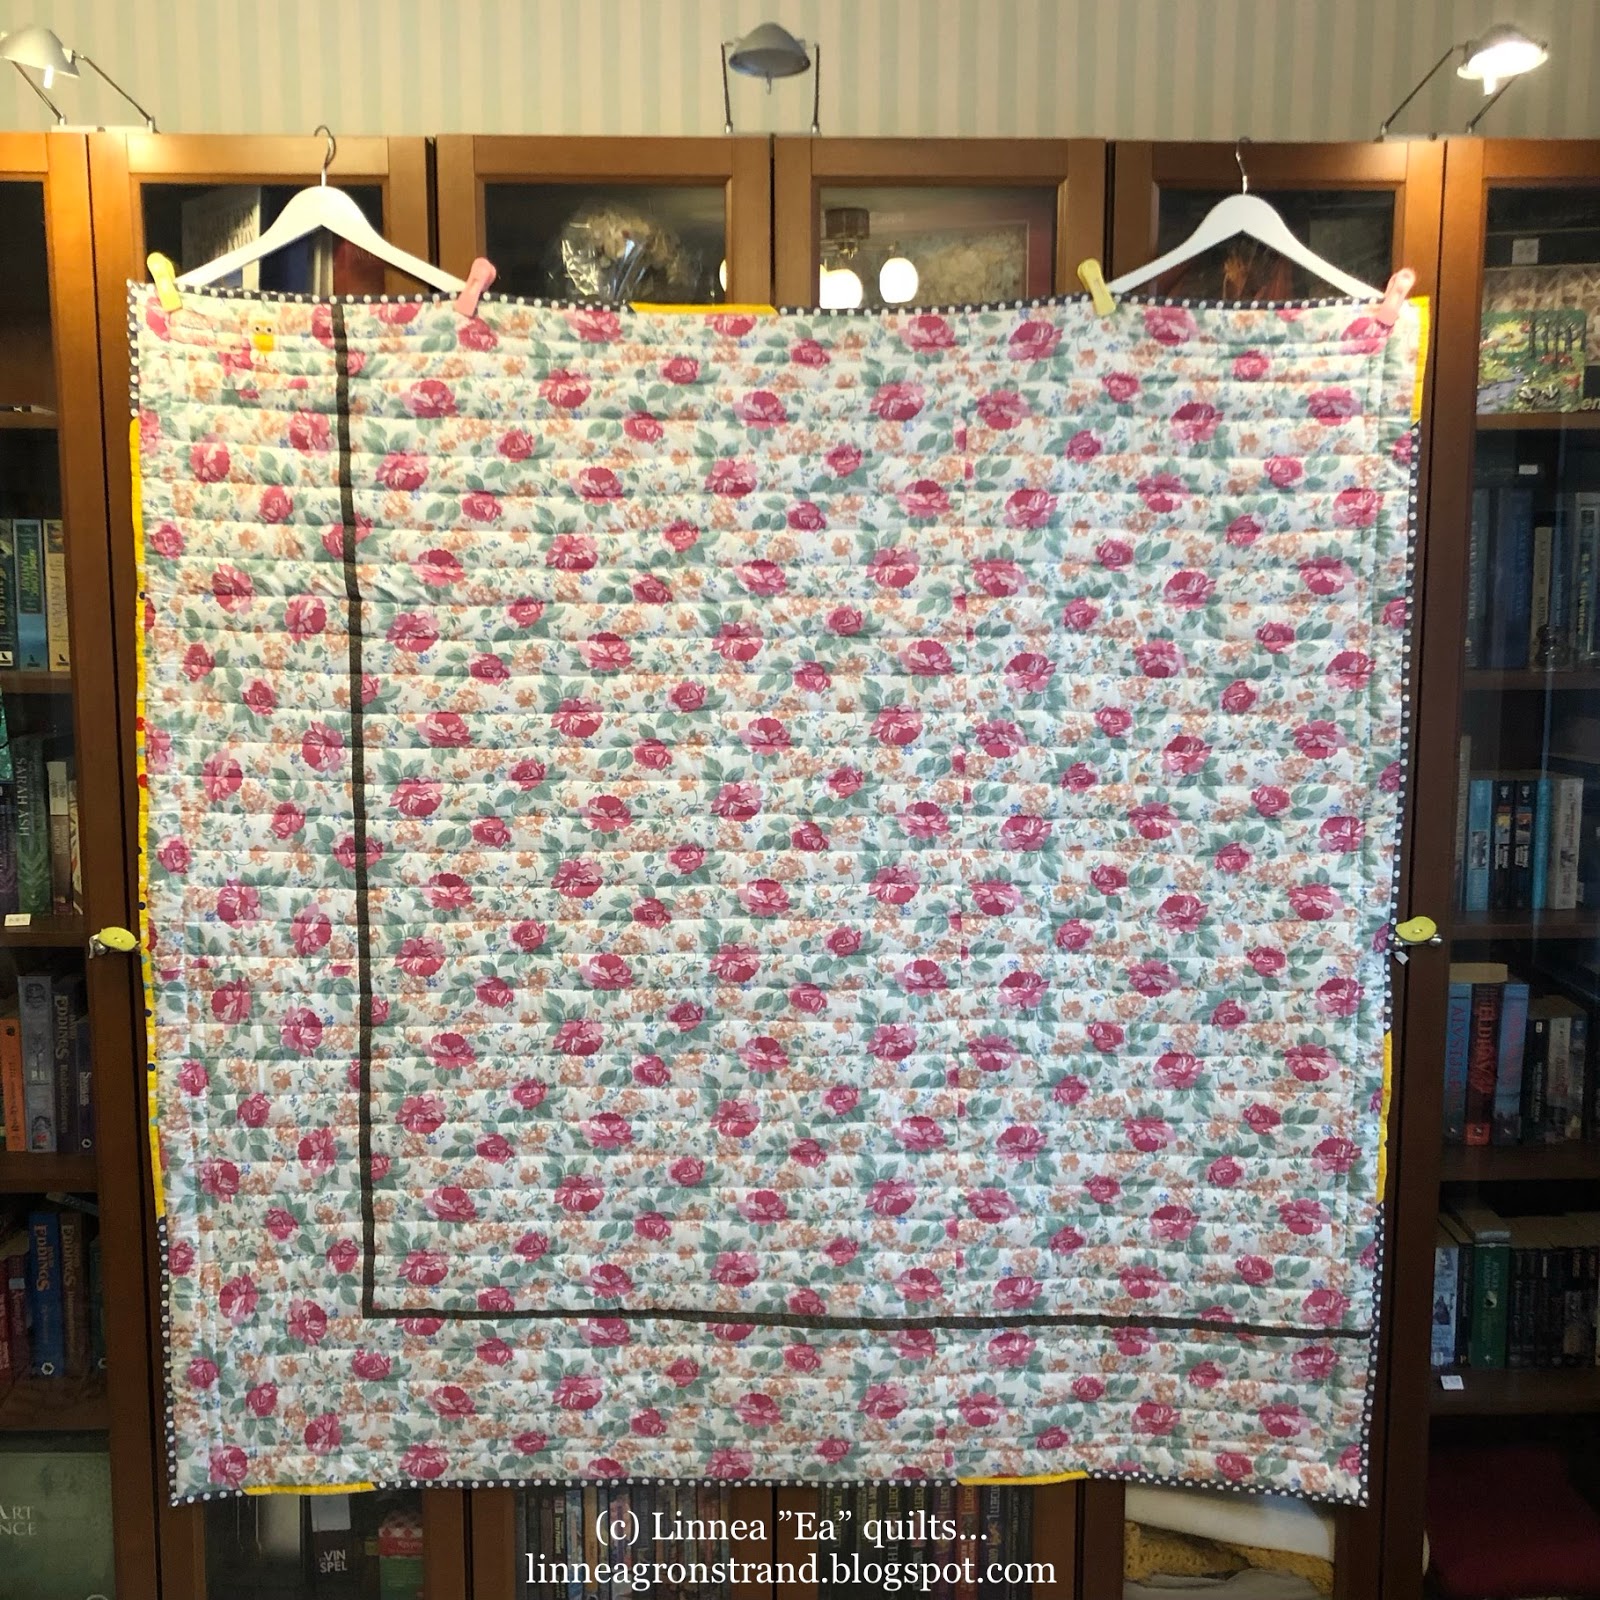
- Backing used a floral fabric I had found in the stash at Arbis, with two shinny strips of brown speckled fabric that I had found second hand and also used in the border of my Autumn Kingfisher.
- Binding used was 5 cm wide, and I made it out a total of three different fabrics..
Quilting pattern:
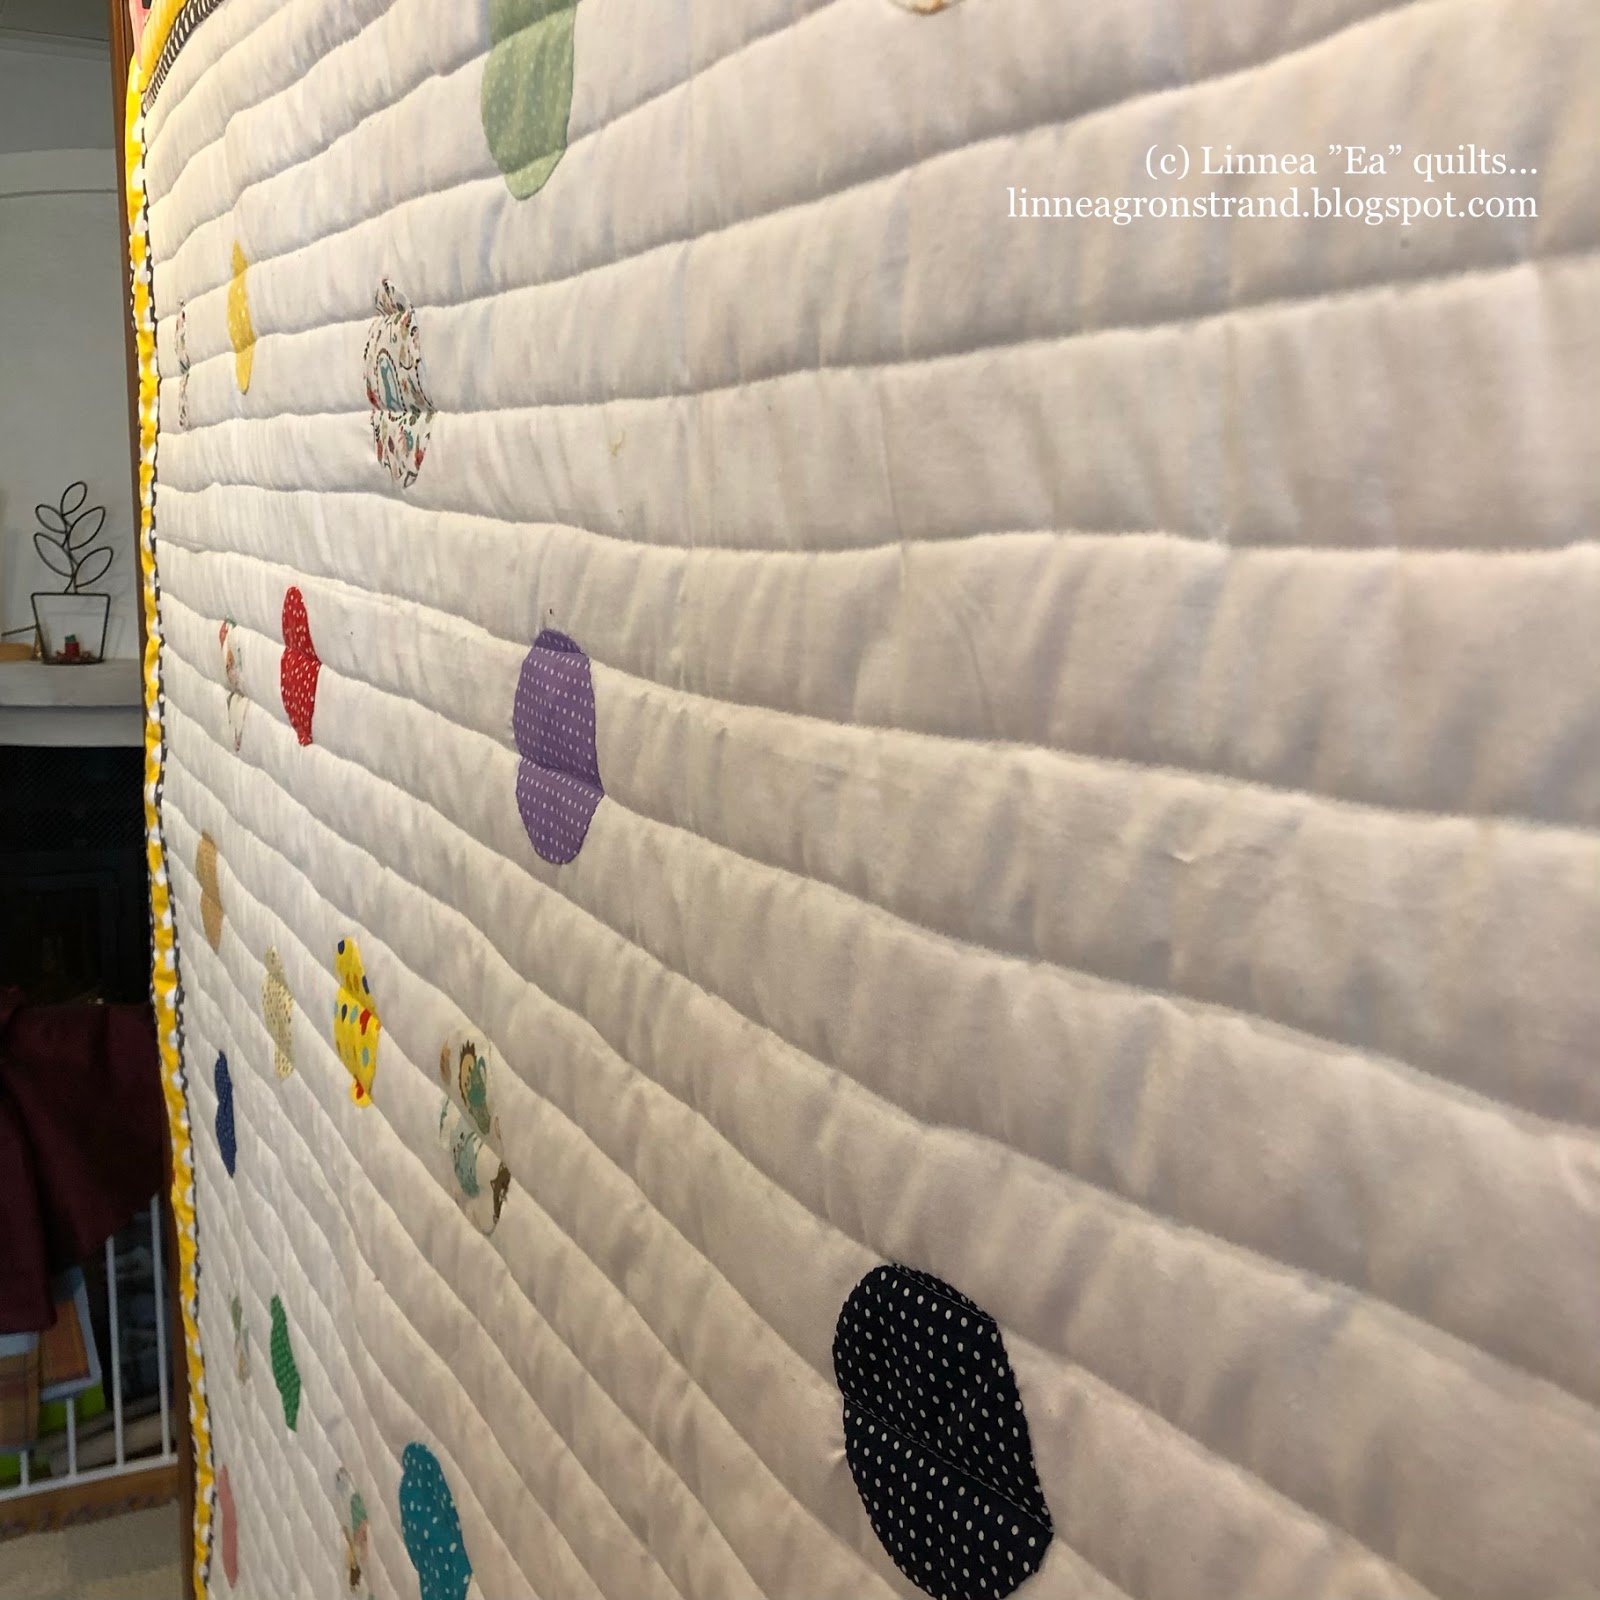
- Since my Pfaff sewing machine kept breaking thread so often for me when I was free motion quilting on You, Me and the Sun, I just started with walking foot quilting these straight(ish) lines on the white background fabric, and outline quilting on the border. It worked really well, even though I had to pin baste the quilt!
Piecing and quilting thread:
- For piecing both the top and the backing: Gutermann Mara 120, 100% polyester, 1000m, color 1 (natural white).
- For the applique, I used the same as above.
- For the walking foot quilting, I also used the same thread. It only took me 2 full bobbins to quilt this one! (I'm more used to the 5-6 ones that free motion quilting takes me)
- I embroidered the names on the label using a bright pink Perlé cotton found second hand (see the third photo, on the left side).
~~~~~~Quilt top construction~~~~~~
Unlike in another project, for the appliqué circles in this project I used card stock templates that I hand-sew around and then cut out the back from.


And that was basically it :)
The borders I made form a cheery yellow fabric with these white hearts and under it a shinny border of light gray with white polka dots. These fabrics were supposed to symbolize how my daughter has had more sunny days at daycare than bad gray days, since she has loved being in that group more that in her previous one.

~~~~~~Quilting design~~~~~~~
I chose to do straight line walking foot quilting on the white background, mainly because I was afraid on my machine going to act up like it did when I quilted You,Me and the Sun, and the fact that I had to pin-baste it due to lack of spray glue when I went to the Halonen sewing store.
Otherwise, it all worked out great, even though the label on the backing got really wonky. What a hoot (get it: it's a owl!)
Otherwise, it all worked out great, even though the label on the backing got really wonky. What a hoot (get it: it's a owl!)

Uh oh! Some problem areas still were present, but that was okay, because they were so few..


I pieced the backing from a longer pieces that had been cut lengthwise from a bolt, probably to make curtains. Can you find the seam in the photo?

And here's some closeups of a few of the circles:


I think I know now why so many modern quilters use straight line/walking foot/matchstick quilting. Because it's relatively fast and there's a lower chance of it getting problem areas on the back.
Yes, that is how crazy the binding became. Because I wanted to use up as much of the fabric I had used, and then I just had to find something else that kinda matched them.


Even if this side got a piece that was a bit long in comparison to the other sides.


And that was how Emma's Bubbles quilt got made. Have a great day everyone, and thank you so much for reading :)
~~~~~~~~~~~~~
~~~~~~~~~~~~~
PLEASE ask permission BEFORE you PUBLICLY copy anything from my blog.
All images, all my text, and content that I specifically haven't referenced as belonging to someone else on this site are my property and they cannot be used, copied or transmitted without my consent.
The exception here is Pinterest, because I give you permission to pin my photos there IF YOU CITE THEM AS COMING FROM THIS BLOG AND THUS FROM ME.
I understand that Pinterest is useful for saving tutorials and photos for quilting inspiration, because I use it that way myself, and I'm okay with you doing that too - but PLEASE: "cite when you write". Give the creator some credit, will you?
I have nothing against you trying to make something similar, or even selling it, but I'd like to get some credit for being your inspiration. Why? Well, because lots of crafts are passed down from person to person, and it feels nice to be able to say "yes, I taught you how to make that".
What I DON*T LIKE is you flat out stealing my photos and my written text.
If you want, check out my own shared Pinterest board: My creations
Or my Flickr photos: My photostream
For questions or further permissions, please email me at linnea.gronstrand [at]gmail[dot]com


Comments
Post a Comment