Finished quilt: my Rainbow Scraps quilt

Name, Recipient, Size, Start/Finished date, Pattern and Fabrics used
- The Rainbow quilt, or "Rainbow Scraps"
- for myself, as a technique learning and scrap project
- 105 x 120 cm (length x height).
- 26.3 - 7.8.2018, hand-quilting between 7.8.2018 - 29.11.2018
- A combination of Rachel Houser's (of Stitched in color) "Bottled Rainbows" quilt blocks and Amanda Jean's (of Crazy Mom Quilts) "Ticker tape tiles". The idea for the quilt-as-you-go method I used (and tweaked) came when I watched this video tutorial by Missouri Star Quilt Co.
- About the fabrics used:
- The "ticker tape tiles" are all scraps out of my scrap folders, and the backgrounds are all from my solids stash. The natural white background is actually a blend of two fabrics; one donation fabric and this natural white one from Kruunun Kangas.
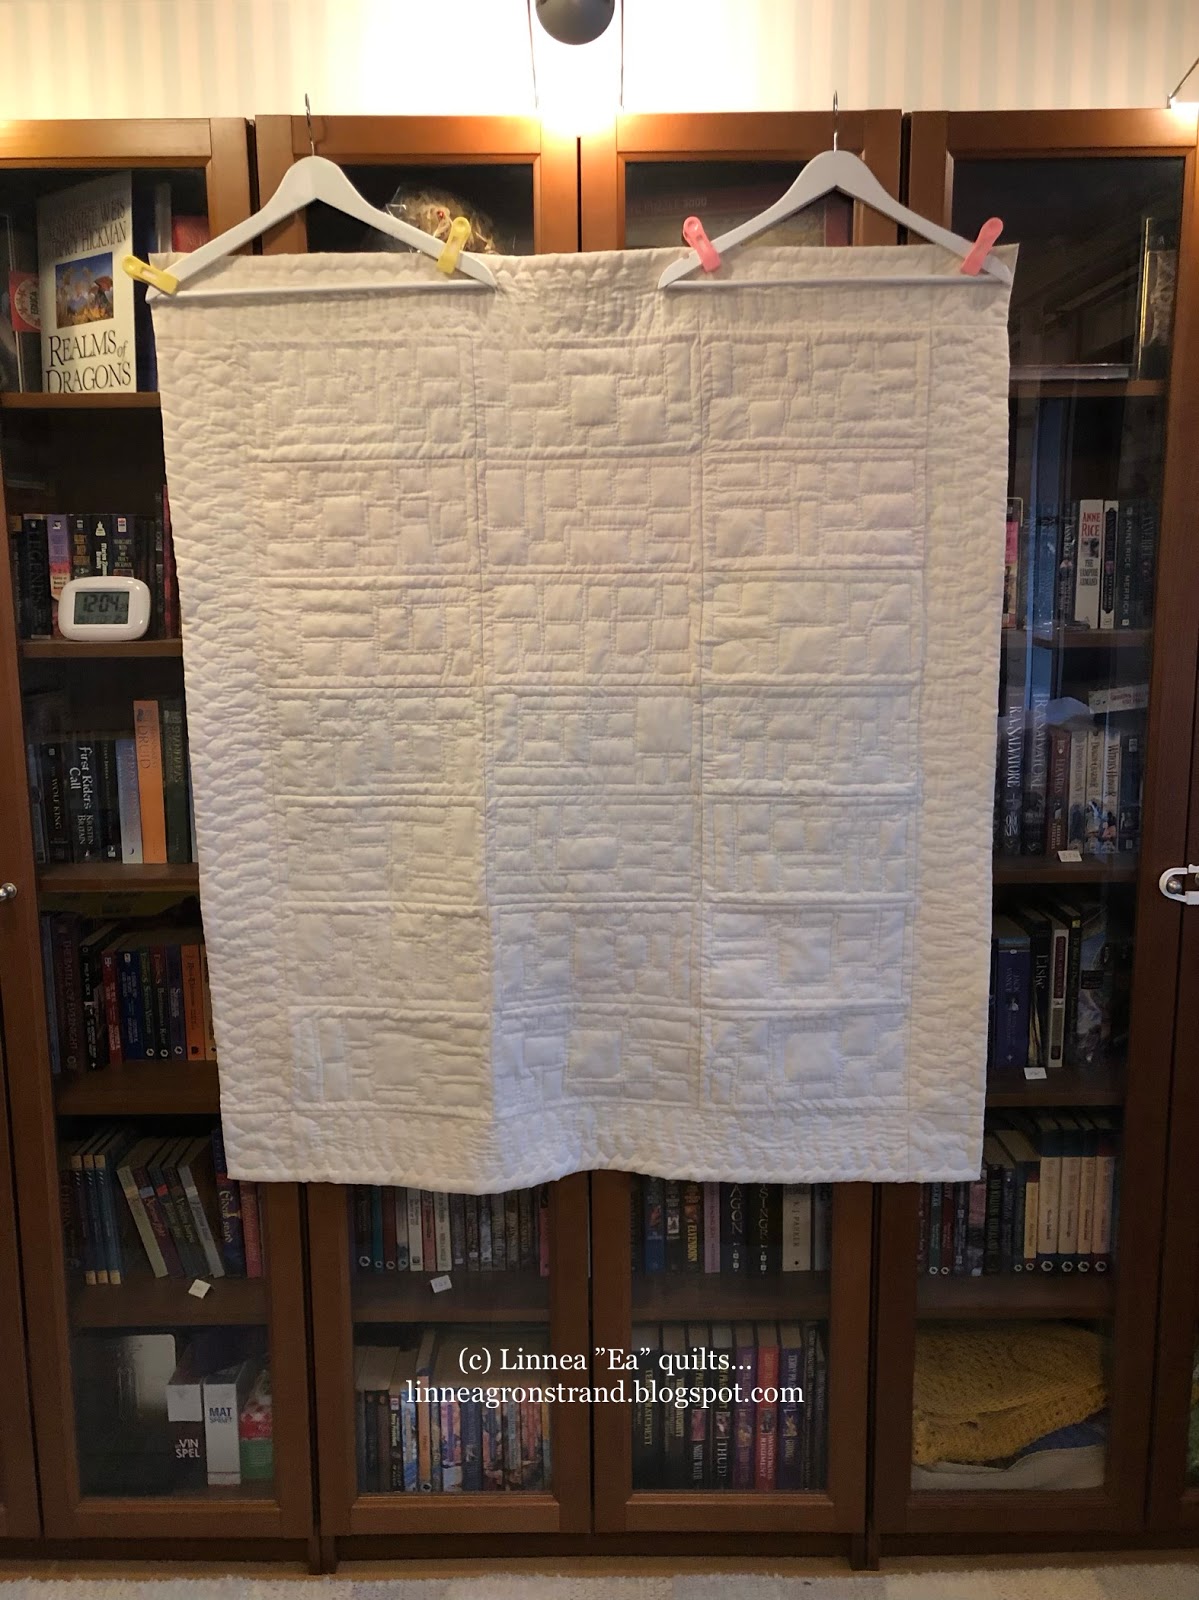
Batting, backing and binding fabric:
- Batting is a blend: there's both triple layers and double layers of polyester batting from both Kruunun Kangas and Eurokangas in the quilt-as-you-go parts.
- Since this was done via a QAYG-method, the backing was chosen based on the fabric I wanted to have on the ”sashing” on the ”quilt top”.
- Binding was made by extending the backing to the front of the quilt, resulting in a 1 cm binding on the front .
Quilting pattern:
- This one was entirely designed by me, but definitely inspired by the works of Rachel Houser’s and Amanda Jean’s like I wrote above.
- The background blocks were cut out using my 15 x 30 cm ruler as a template. I cut out 3 solids with different values for each rainbow color.
- The ticker tapes were sewn onto them using the same thread tension you have when making buttonholes and the zigzag stitch set to ”F” (widest) on my Pfaff.
- Then the blocks got fitted for backing and batting and I sewed them together by machine using a 2 mm straight stitch (see more about that below).
- Next, the ”sashings” (the fabric on the side of the blocks) were hand-sewn down onto the blocks. And then the borders were added in the same manner.
- I hand-quilted a pattern on the surrounding border, and also around each small square in the blocks. I did this because I thought it would give the blocks extra stability.
Top thread:
- For sewing the ticker tapes to the solid color blocks: Gutermann Mara 120, color 800 (white). I used a small zigzag stitch with the machine set to ”buttonhole” and tension adjusted. This was important!
- For piecing together the background blocks: Gutermann Mara 120, color 1 (natural white).
- For hand sewing the "sashings" down: Gutermann Mara 120, color 1.
- For hand quilting: Gutermann Hand Quilting thread (waxed), 100% cotton, (200 m spool), color 618 (silver grey
Bobbin thread:
- For sewing the ticker tapes to the solid blocks: Gutermann Mara 120, color 800 (white).
- For piecing the blocks: Gutermann Mara 120, color 1.
Blogged about on:
~~~~~~~~~~~~~~
So, I read a lot on quilt block designs. And I pin a lot of block ideas on my Pinterest boards, basically just to keep track of ideas for quilts and block patterns I’d like to maybe try out one day.
This is one of those ideas, that became a combination of three things I had learned online.
This is one of those ideas, that became a combination of three things I had learned online.
I think I saw Amanda Jean's Ticker tape tiles quilts when I read about them on her blog. She has, so far, made at least two different ones - the one she made when she wrote the tutorial on Sew Mama Sew and one mini quilt. As for using up scraps, I thought they were a nice project.
Always the better option, in my opinion, especially in a house where there are kids and the quilts get a lot of washing.
But still, I wasn't that convinced about the quilt-as-you-go method Houser had used. But then, I happened to see Jenny Doan's tutorial on Missouri Star Quilt Co's YouTube page, and that was it. I thought I could make a variant of all of these, and still come out with something more "me" and not just a pretty copy of any of them.
In the beginning, the hardest things were to find three matching values in solid fabrics for each color of the rainbow. I had most trouble with red and indigo. Yellow came a close third. I only had to buy one orange, two reds and one violet fabric, and one of the other oranges had to be pieced together from scraps. But it hardly shows behind the ticker tapes.
Next, the scrap pieces for the ticker tapes. For some colors, like green and red, I happened to have a lot of smaller pieces in my scrap user system (in my fabric folders) already. Most of them were left from making the color blocks for the color block quilts. When I ran low on a color, I searched my stash. So, for my 15 x 30 cm (un-sewn) blocks I got enough variation for no one to look identical.
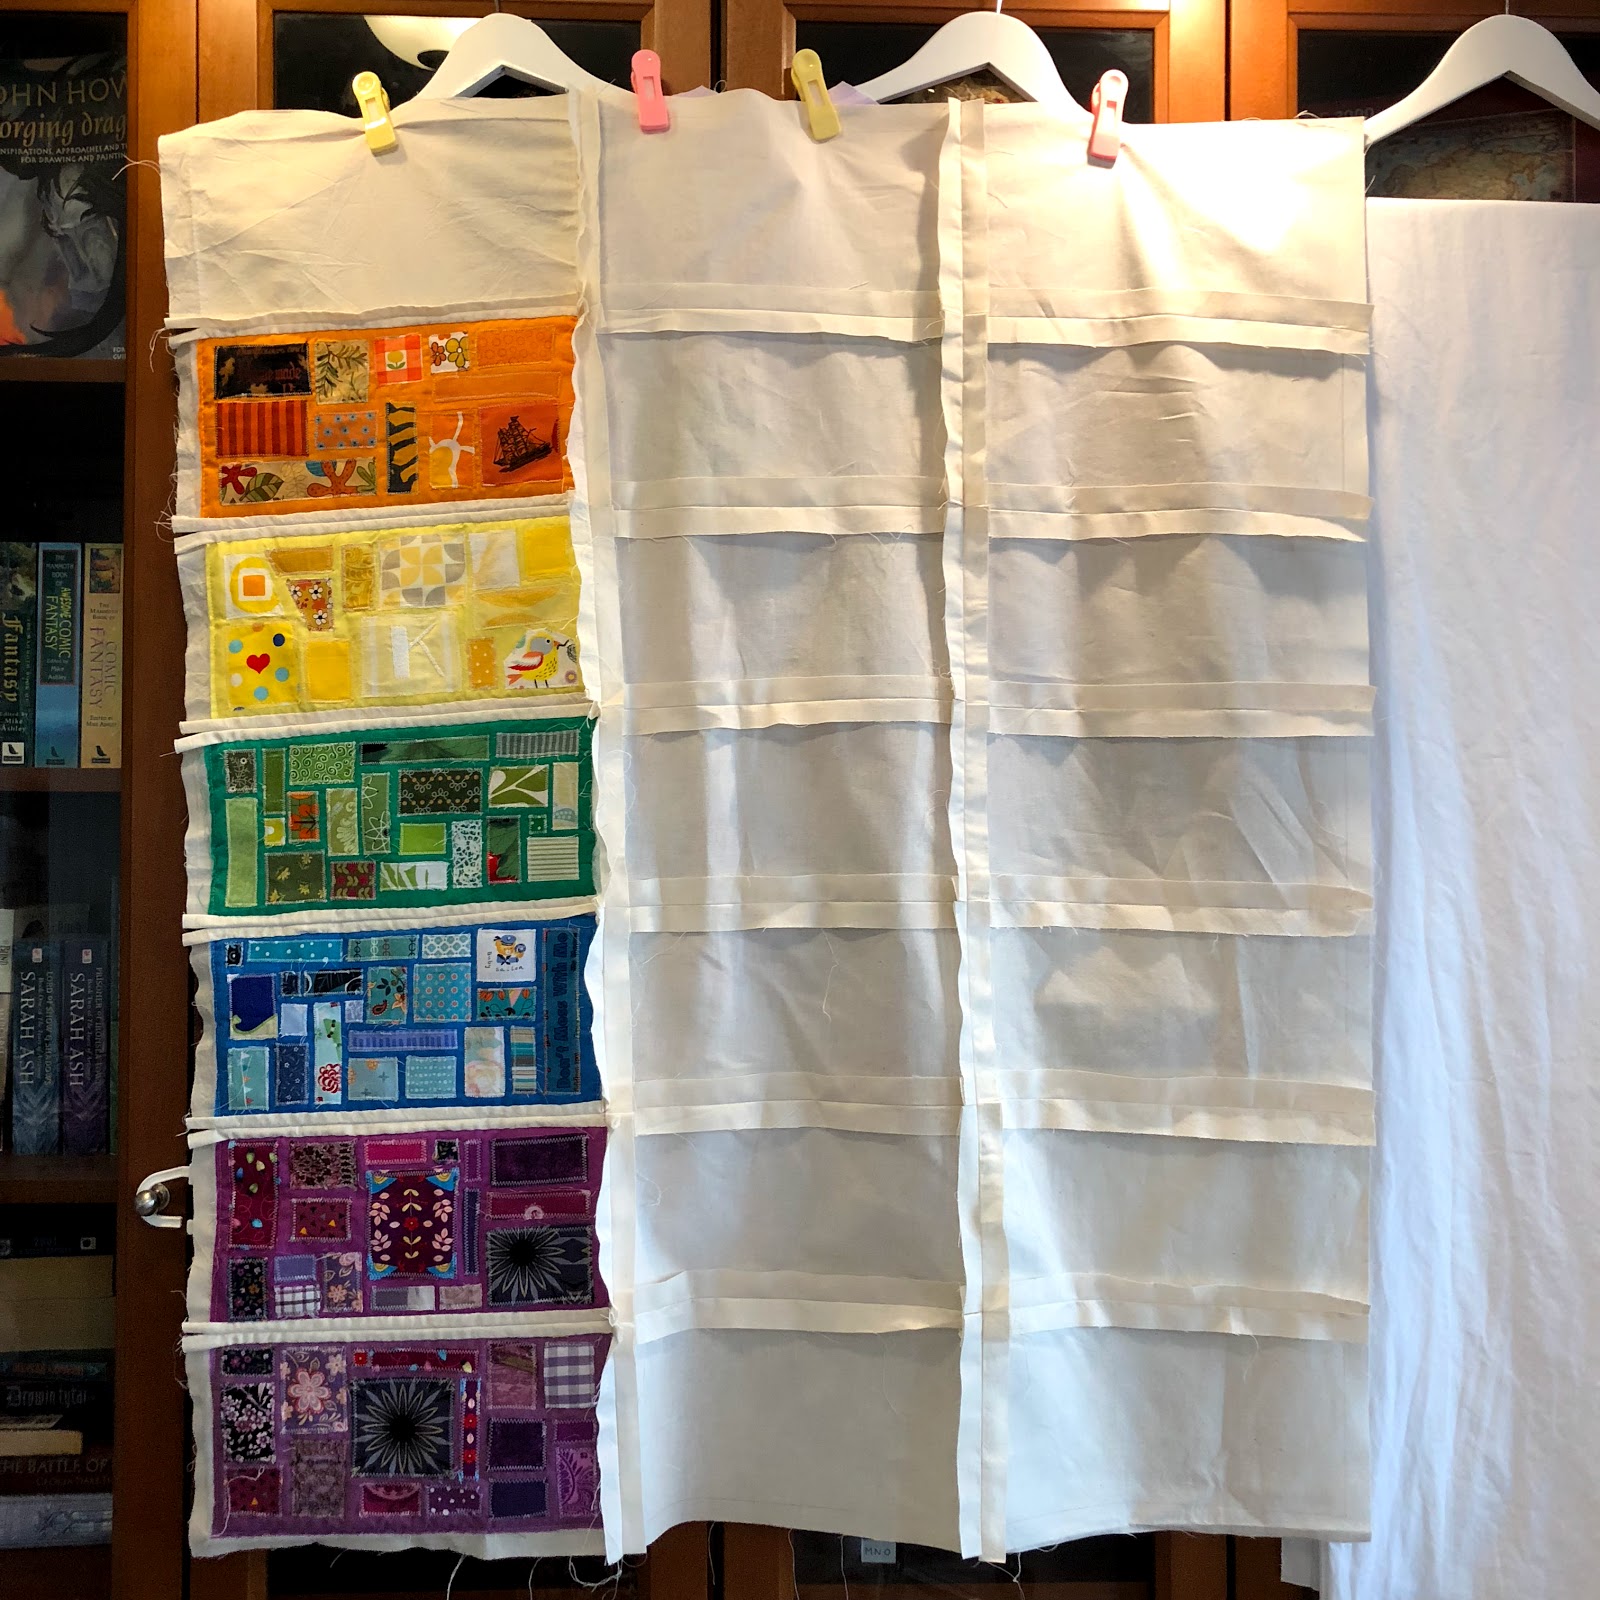
This is the first ever photo I took of the first blocks. The braid blocks I discarded when I couldn't fit them into the design, and two violet blocks got swapped for others with better color value.


Next up; making ”fabric boxes” for the quilt block to ”sit in” together with the batting.
After some trial and error...
*sigh*
...I managed to come up with a version of Jenny Doan’s QAYG-method that would work for me.
It meant measuring how wide a marginal the quilt blocks needed to lay flat under the ”sashings”, and then cutting out background blocks with that + extra for those sashings. And then sewing them together (1.5-2 mm straight stitch) on the end line of the marginal - first into rows and then those long rows together.
Here's when the first row had nearly been completed.


As you can see, I left the ends free, so I could hand sew them down later.


I also got tired of having sore fingers on my sewing hand, so after the next few photos I finally gave up and ordered an ergonomic thimble.

I also stopped using a regular needle, and instead switched to hand quilting needles (size 8). It made a LOT of difference, because it went easier after that.


Here's a photo of how first the batting...

...and then the block is tucked into place and secured with pins.

Then I just pinned away. The corners I did so they looked mitered.

Here you can see all that pinning, from yellow and all the way down to violet/indigo. This was done when I got tired of pinning and sewing them one at a time, and just sat down in one long session and pinned all the rest of the blocks.
It meant that I ran a much MUCH higher risk of getting pricked by those sharp pins.

I actually posted this photo to Instagram the first time I got badly pricked by one, and actually BLED.
Good thing I didn't bleed ON the quilt, because I was supervising the kids eating ice cream then, and happened to have baby wipes nearby.
My little 3 yo daughter was of the medical opinion that "mommy need plaster" afterwards. I concurred with her on that diagnosis.


And then, finally, all the sashings had been sewn down. All those pesky pins had been removed!

Looking at these photos, I must say that I did try my damnedest to fussy cut out nice/funny parts of the scraps I had on hand.
Right...

Then, looking at it all finished and nice, it felt as if something was lacking. It looked like a "quilt center" and not a "quilt top".
The design felt too busy to look at, because there was nowhere for your eyes to rest.

So, I thought about it, and decided it needed some borders. In the same neutral color as the background/sashings. Good thing I still leftover fabric.
I did some measuring and quilt math....

And yes, it started looking much better then.

Even if it meant that I now had to do a whole lot MORE pinning and hand-sewing...
*sigh*


I remember how relieved I felt when I pinned the last stretch of that border in place.

This photo shows the final pin and the final stitches I had to take to get that border done.


While waiting to pick up the kids from daycare, I spent one Monday and Tuesday afternoon at the library, stitching and listening with my ear buds to some quilting podcasts.

Then, yesterday (Thursday, November 29th), I stitched the squares in the last block

And then, that last little square in the corner.

Ta-dah!


And that is how my Rainbows Scraps quilt came about.
It's already gone through a wash, and not a single one of the colors bled, and no square came undone, so I'm giving the quilt to my daughter. We'll place it on her small children's bed to begin with, but she can do whatever she wants with it. Because I want to see how well those seams hold up ;)

What better way to test it then, than to give it to a child who loves playing "picnic" and "ghost" with mommy's quilts? ;)
Have a nice day now everyone, hopefully this overtly long "ode to rainbow scraps"-post didn't make your head and sewing thumb ache!
---
This is the first ever photo I took of the first blocks. The braid blocks I discarded when I couldn't fit them into the design, and two violet blocks got swapped for others with better color value.

Those blocks on top are those that got swapped out, and I was still needing to find some matching reds.

Next up; making ”fabric boxes” for the quilt block to ”sit in” together with the batting.
After some trial and error...
*sigh*
...I managed to come up with a version of Jenny Doan’s QAYG-method that would work for me.
It meant measuring how wide a marginal the quilt blocks needed to lay flat under the ”sashings”, and then cutting out background blocks with that + extra for those sashings. And then sewing them together (1.5-2 mm straight stitch) on the end line of the marginal - first into rows and then those long rows together.
Here's when the first row had nearly been completed.
This is how the seams looked.

As you can see, I left the ends free, so I could hand sew them down later.

And the back looked like a pieced backing, with the seams matching up as well as I could make them.

Basting the quilt-as-you-go-blocks meant basically to tuck them all, first the batting pieces and then the blocks on top of them, inside the "box" the sashings made.


I also stopped using a regular needle, and instead switched to hand quilting needles (size 8). It made a LOT of difference, because it went easier after that.

Summer had by then turned so warm, that me and the kids had taken refuge from sleeping upstairs and made the brown sofa into one giant bed for us. Tired kids napping meant that I could sit and work quietly on my quilting projects on the giant table, with the terrace door open to make it a bit cooler.

Here's a photo of how first the batting...

...and then the block is tucked into place and secured with pins.

Then I just pinned away. The corners I did so they looked mitered.

Here you can see all that pinning, from yellow and all the way down to violet/indigo. This was done when I got tired of pinning and sewing them one at a time, and just sat down in one long session and pinned all the rest of the blocks.
It meant that I ran a much MUCH higher risk of getting pricked by those sharp pins.

Good thing I didn't bleed ON the quilt, because I was supervising the kids eating ice cream then, and happened to have baby wipes nearby.
My little 3 yo daughter was of the medical opinion that "mommy need plaster" afterwards. I concurred with her on that diagnosis.

As time went on, and the summer weather continued to stay warm, I sat and hand sew on that quilt whenever I could steal moments here and there.
Like, while on a Saturday one child abruptly fell asleep and had to take a nap.


Looking at these photos, I must say that I did try my damnedest to fussy cut out nice/funny parts of the scraps I had on hand.
"So much to say, so little time"
Mr Chatterbox
Right...

The design felt too busy to look at, because there was nowhere for your eyes to rest.

I did some measuring and quilt math....

And yes, it started looking much better then.

Even if it meant that I now had to do a whole lot MORE pinning and hand-sewing...
*sigh*

Then, summer was over, and the quilting courses started once again at Vasa Arbis. The kids started in their daycare groups, and since I started my sick-leave when that happened I could attend the one that took place during Tuesday mornings.
I worked on Rainbow Scraps there too.

Pin and sew, pin and sew...

I remember how relieved I felt when I pinned the last stretch of that border in place.


And then, the quilt was done.
Huge elation. (And also, I was really happy that my phone could take such a pretty photo of it, there on the kitchen table in the sunlight)

But, then I got worried that the sewing I had done wouldn't be able to keep the blocks and border looking this pretty. I was so sure, the batting under them would shift and ruin it all.
So, after I had read up on how to do hand quilting, I started doing that. I found out how hard it was to use "regular hand quilting cotton" thread, when before I had only used super fine and tough polyester thread. I, at times, got really frustrated with using it, because it kept fraying and breaking at odd intervals.
But, first, the quilting I did around the border.

And after that first row, a second row on the inner side, to match. I marked (with a vanishing marker) where I wanted the loops to end. It meant minimal markings and still allowed me to match the sizes of the loops on the sides.

Then, it was time for the blocks themselves.
Oh boy, what a LONG time that took. I managed to get horrible muscle cramps in my right thumb and down the arm, probably because my hand wasn't used to doing this much sewing, and I had to wear bandages and do other types of quilting/crafts until it became better. More frustration ensured, because damn it - you use your thumbs for frikkin' doing anything (like preparing food, washing dishes, brushing your teeth.... :( ).
When the tendons finally had healed enough, I once again stole time here and there to quilt away on those pesky small squares.

I managed to get one large sewing session in on the last sew-LAN party at Arbis (at the end of November 2018), and by then I had gotten 5 / 7 rows done.

While waiting to pick up the kids from daycare, I spent one Monday and Tuesday afternoon at the library, stitching and listening with my ear buds to some quilting podcasts.

Then, yesterday (Thursday, November 29th), I stitched the squares in the last block

And then, that last little square in the corner.

Ta-dah!

It's that dark one with the small violet flowers on the left.
Henceforth known as "the last frikkin' square".

And then it was done.
It was DONE!
And I was really happy! And relieved. Actually, mostly just relieved. But also happy.
I mean, just look at all those blocks - with all those pretty colors. They just make you want to smile.
Here's two close ups:


And a close-up of the back. (Yes, I know it isn't perfect, but for my first hand quilting project it's not too shabby).
And that is how my Rainbows Scraps quilt came about.
It's already gone through a wash, and not a single one of the colors bled, and no square came undone, so I'm giving the quilt to my daughter. We'll place it on her small children's bed to begin with, but she can do whatever she wants with it. Because I want to see how well those seams hold up ;)

What better way to test it then, than to give it to a child who loves playing "picnic" and "ghost" with mommy's quilts? ;)
Have a nice day now everyone, hopefully this overtly long "ode to rainbow scraps"-post didn't make your head and sewing thumb ache!
~~~~~~~~~~~~~
PLEASE ask permission BEFORE you PUBLICLY copy anything from my blog.
All images, all my text, and content that I specifically haven't referenced as belonging to someone else on this site are my property and they cannot be used, copied or transmitted without my consent.The exception here is Pinterest, because I give you permission to pin my photos there IF YOU CITE THEM AS COMING FROM THIS BLOG AND THUS FROM ME.
I understand that Pinterest is useful for saving tutorials and photos for quilting inspiration, because I use it that way myself, and I'm okay with you doing that too - but PLEASE: "cite when you write". Give the creator some credit, will you? I have nothing against you trying to make something similar, or even selling it, but I'd like to get some credit for being your inspiration. Why? Well, because lots of crafts are passed down from person to person, and it feels nice to be able to say "yes, I taught you how to make that".
What I DON*T LIKE is you flat out stealing my photos and my written text.
If you want, check out my own shared Pinterest board: My creations
Or my Flickr photos: My photostream
For questions or further permissions, please email me at linnea.gronstrand [at]gmail[dot]com


Comments
Post a Comment