Craft courses 2018: Making jewelry from recycled materials, part 2
So last Wednesday I was to the last lesson on this jewelry from recycled materials course. I wrote about it last week too. In excellent course theme in my opinion, and I only wished it could have been longer. Like I previously wrote, Anne Viinikka is an excellent teacher with a clear passion for using recycled materials. She's truly creative.
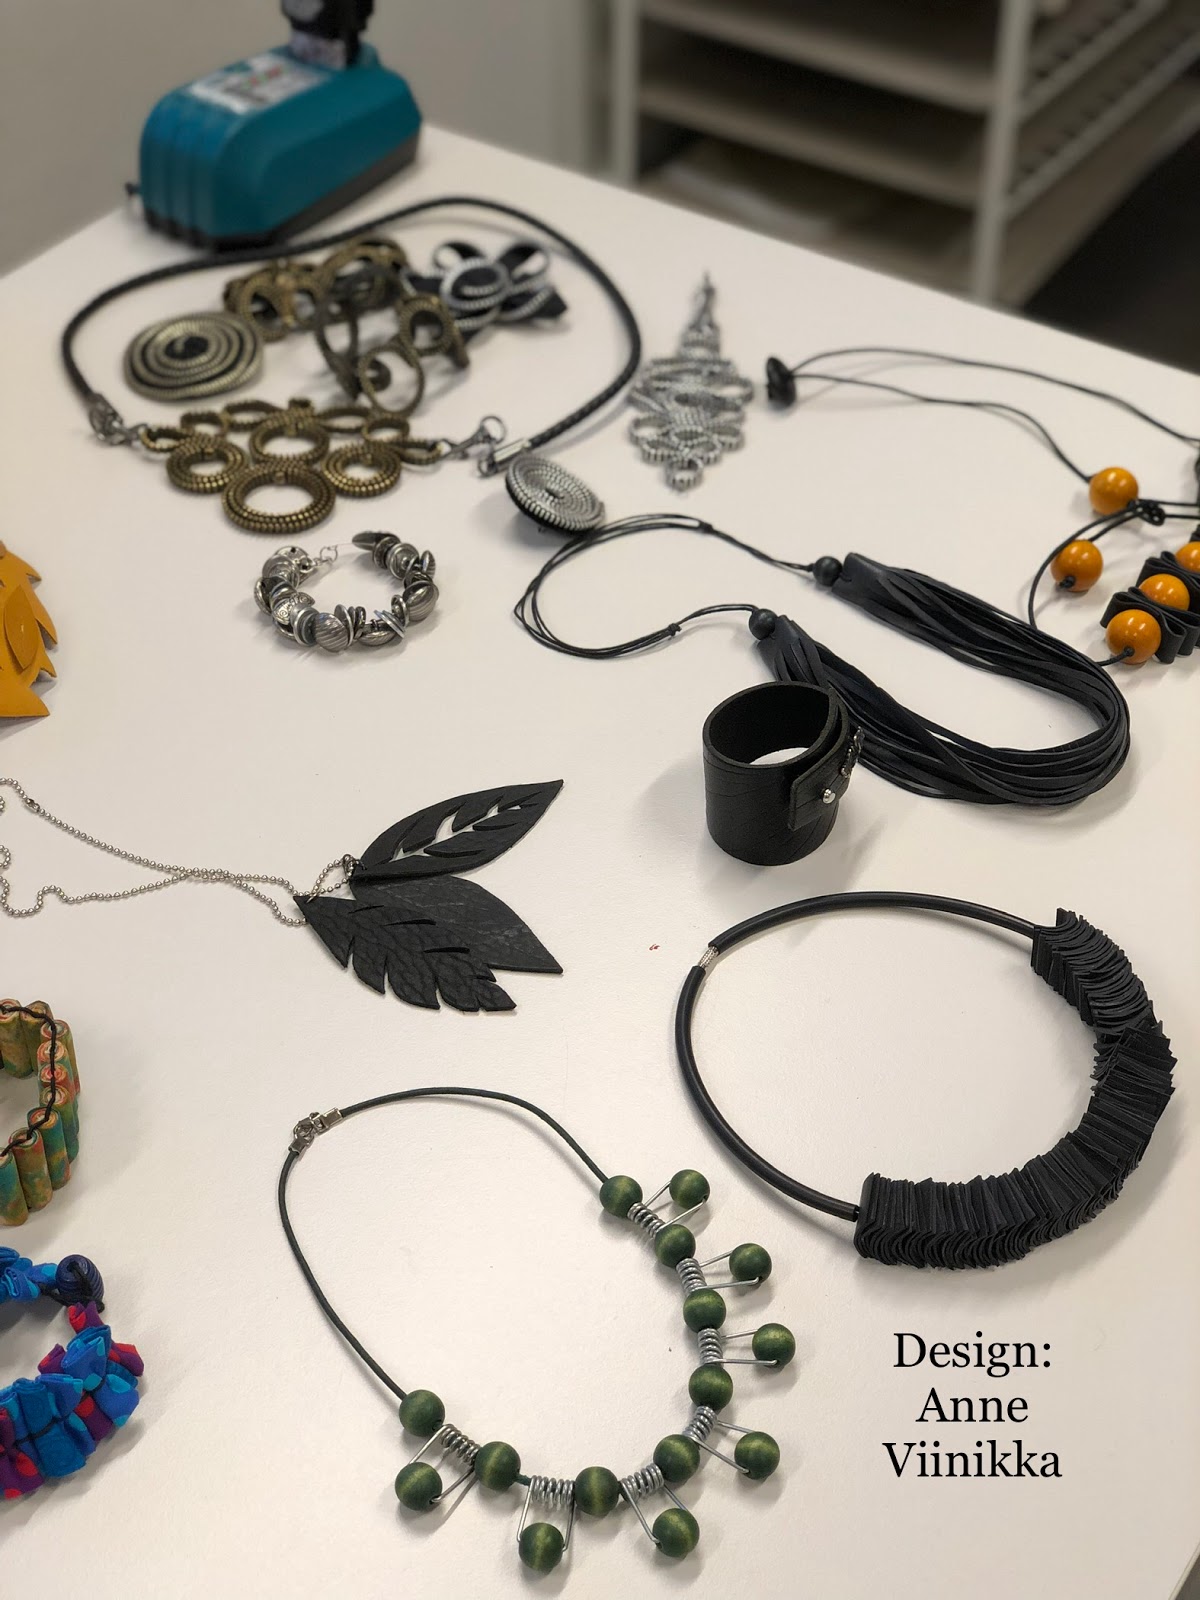
Because of this, I thought I'd give you a peek at her work :)
I took some photos of the show-and-tell pieces she had brought with her to present ideas and what she has done in different materials. Of these materials, she had used:
- inner rubber of a bicycle ring (her boys apparently bike a LOT)
- fabric scraps, yarn and thread
- leather scraps (from old bags, belts and jackets, some bought second hand and some just broken and reused)
- buttons
- zippers
- lace (stiffened with basic potato starch based glue)
- the plastic "glass" of old sunglasses
- old silver teaspoons
- old keyboard keys
- bottle caps

Viinikka had just sewn together the bottom on her ring, but I put and extra scrap piece on the bottom to protect it a bit more.


I wanted to make a copy of that one too, but since I didn't have a small crochet hook with me, I just looked at how she had done hers so I could do it later at home.

Here's an inspirational photo of her course work jewelry box.

More photos of it:

And some more of the rest of the button necklaces she had made.

More necklaces, this time necklaces made out of paper, leather and fabric scraps.

More, made with zipper parts, leather, sliced parts of bicycle rubber, and (on that green necklace) the metal parts form broken clothes pins.
A little more detail of the same.

Zipper necklaces, brooches and a button bracelets.

Cut out necklace from leather. She told us that if you put leather in the oven for about 30 min on low heat (she used 50 degrees C) the leather will get more stiff and keep its form better.

Couldn't resist: here's a detail photo of the paper necklaces.

An last: an overview :)

~~o~~~~o~~~~o~~~
Then, all the rest here are those pieces I made during the course.
This black necklace was one I had found second hand, and it had the most terrible yarn inside it as string. I removed it and put tiger tail in instead. I put wire protectors on the tiger tail ends, an hid the crimp beads inside crimp bead covers. I also put new hat/head pin ends inside the old lock, and added a few more seed beads to the ends to make it easier to lock in place.
This black necklace was one I had found second hand, and it had the most terrible yarn inside it as string. I removed it and put tiger tail in instead. I put wire protectors on the tiger tail ends, an hid the crimp beads inside crimp bead covers. I also put new hat/head pin ends inside the old lock, and added a few more seed beads to the ends to make it easier to lock in place.

So that old necklace looks much better now.

Then, I finished the necklace-bracelet-earring set I had started last week. I still have more red beads left from that, so I might make another necklace or two bracelets.

Then, I repaired this one. The chain had gotten uncoupled, so I added a few ordinary chain links to fix it.

And last, but not least, I got around to putting together this necklace. It only took a bit of stringing the beads on and doing the "lock" at the end.

Those beads with text on I made myself; they're just made with a small tip pen and then varnished. The things I wrote on the beads are these:
I must be myself.
I cannot break myself any longer for you, or you
If you can love me for what I am, we shall be happier.
- Emerson
The worlds beauty is such that not even death is forever.
Flowers die, and leave their seeds to bloom again in spring.
Bare trees grow green.
Everything cycles towards the new, everything has a place,
all that dies becomes reborn in its own time and for its own purpose.
We are who we make ourselves.
Don't ever give up your will to some idea of genetic predestination.


Comments
Post a Comment